
The Art of Food Photography
With the food all laid out to perfection on your dinner table, you see a flash in your eye, and right then it hits you – this needs a photo. Half of your table gets excited and thanks you for reminding them, the other sigh and wait on before they can sink their teeth into the dinner.
We don’t blame you, and you’re not wrong either – a joyous moment like delicious food bringing together your friends and family definitely deserves a photo, and sometimes, nothing but the perfect shot would do.
Whether you’ll be flaunting your pictures on social media, or just to smile back on days and weeks later to recall that moment, there are some food photography tips and tricks that could make your meal more salivating than we’re sure it already is.
Let us help you out:
Getting the Right Angle
“Obviously…,” you’re thinking in your head, angles are going to be important in how your food looks, but where you place the camera will alter the type of story you’re looking to tell.
The type of food you’re trying to take a picture of comes into play; its size, shape, height, and unique features (like garnish). Some dishes look great when you shoot from right in front of the food, and others are best suited when you are looking down from directly above the table. Imagine a table of cupcakes with delicate icing and toppings sprinkled. Would you take an angular shot of the cupcakes showing the precision of the icing and sprinkles, or an aerial shot that neglects the beauty and architecture of your cupcakes?
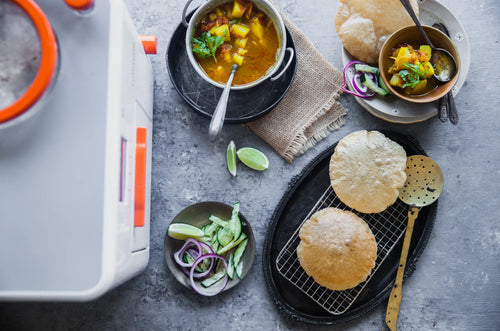
It’s the same for a stack of rotis; an angular shot showing the stack’s height would prove more useful, compared to an aerial shot from the top where it’d just look like one roti for a table full of hungry people!
Setting the Stage
One thing that’d stand out more than a mess in a photo, is an empty space, or many of them! Imagine those to be plot-holes in a movie or story you’re trying to tell or read.
Think of the supporting cast that could fill these spaces and make your hero look all the better. Surround your main dish with ingredients and probs you’ve used to prepare that dish. Sauces, oils, even cooking utensils to drop little hints to what really made that dish – make them ponder and drool even more!
Go further with tins, jars, fabrics, and linens to perhaps dip into the origin of the dish, or how it should be served – it elevates your picture and certainly gives it dept.
A Little Light
Lighting’s tricky – too little of it makes your photo more ominous than intended, and too much of it could blind your audience to the finer details of your dish.
The most important tip for photography would be to shoot against the light, not with it. That means, if you’re taking a shot of your pizzas, be sure that the light isn’t behind the dish, but in front of it – so you’ll be using sunlight to literally light your food up, instead of your dish becoming silhouettes.
The other tips are going to depend on how you want your shots. You could either move away from the lighting or manipulate it with black and white cards that you could make easily with foam. Size them to fit your needs, using white cards to bounce light into shadow areas, revealing important details, or black cards to make shadows stronger for more contrast.
Color Code It
Now you’ve got your angles, you’ve got your props, and also worked out your own lighting. You’re almost good to go, except for one detail that many let slip just before posting their pictures – color.
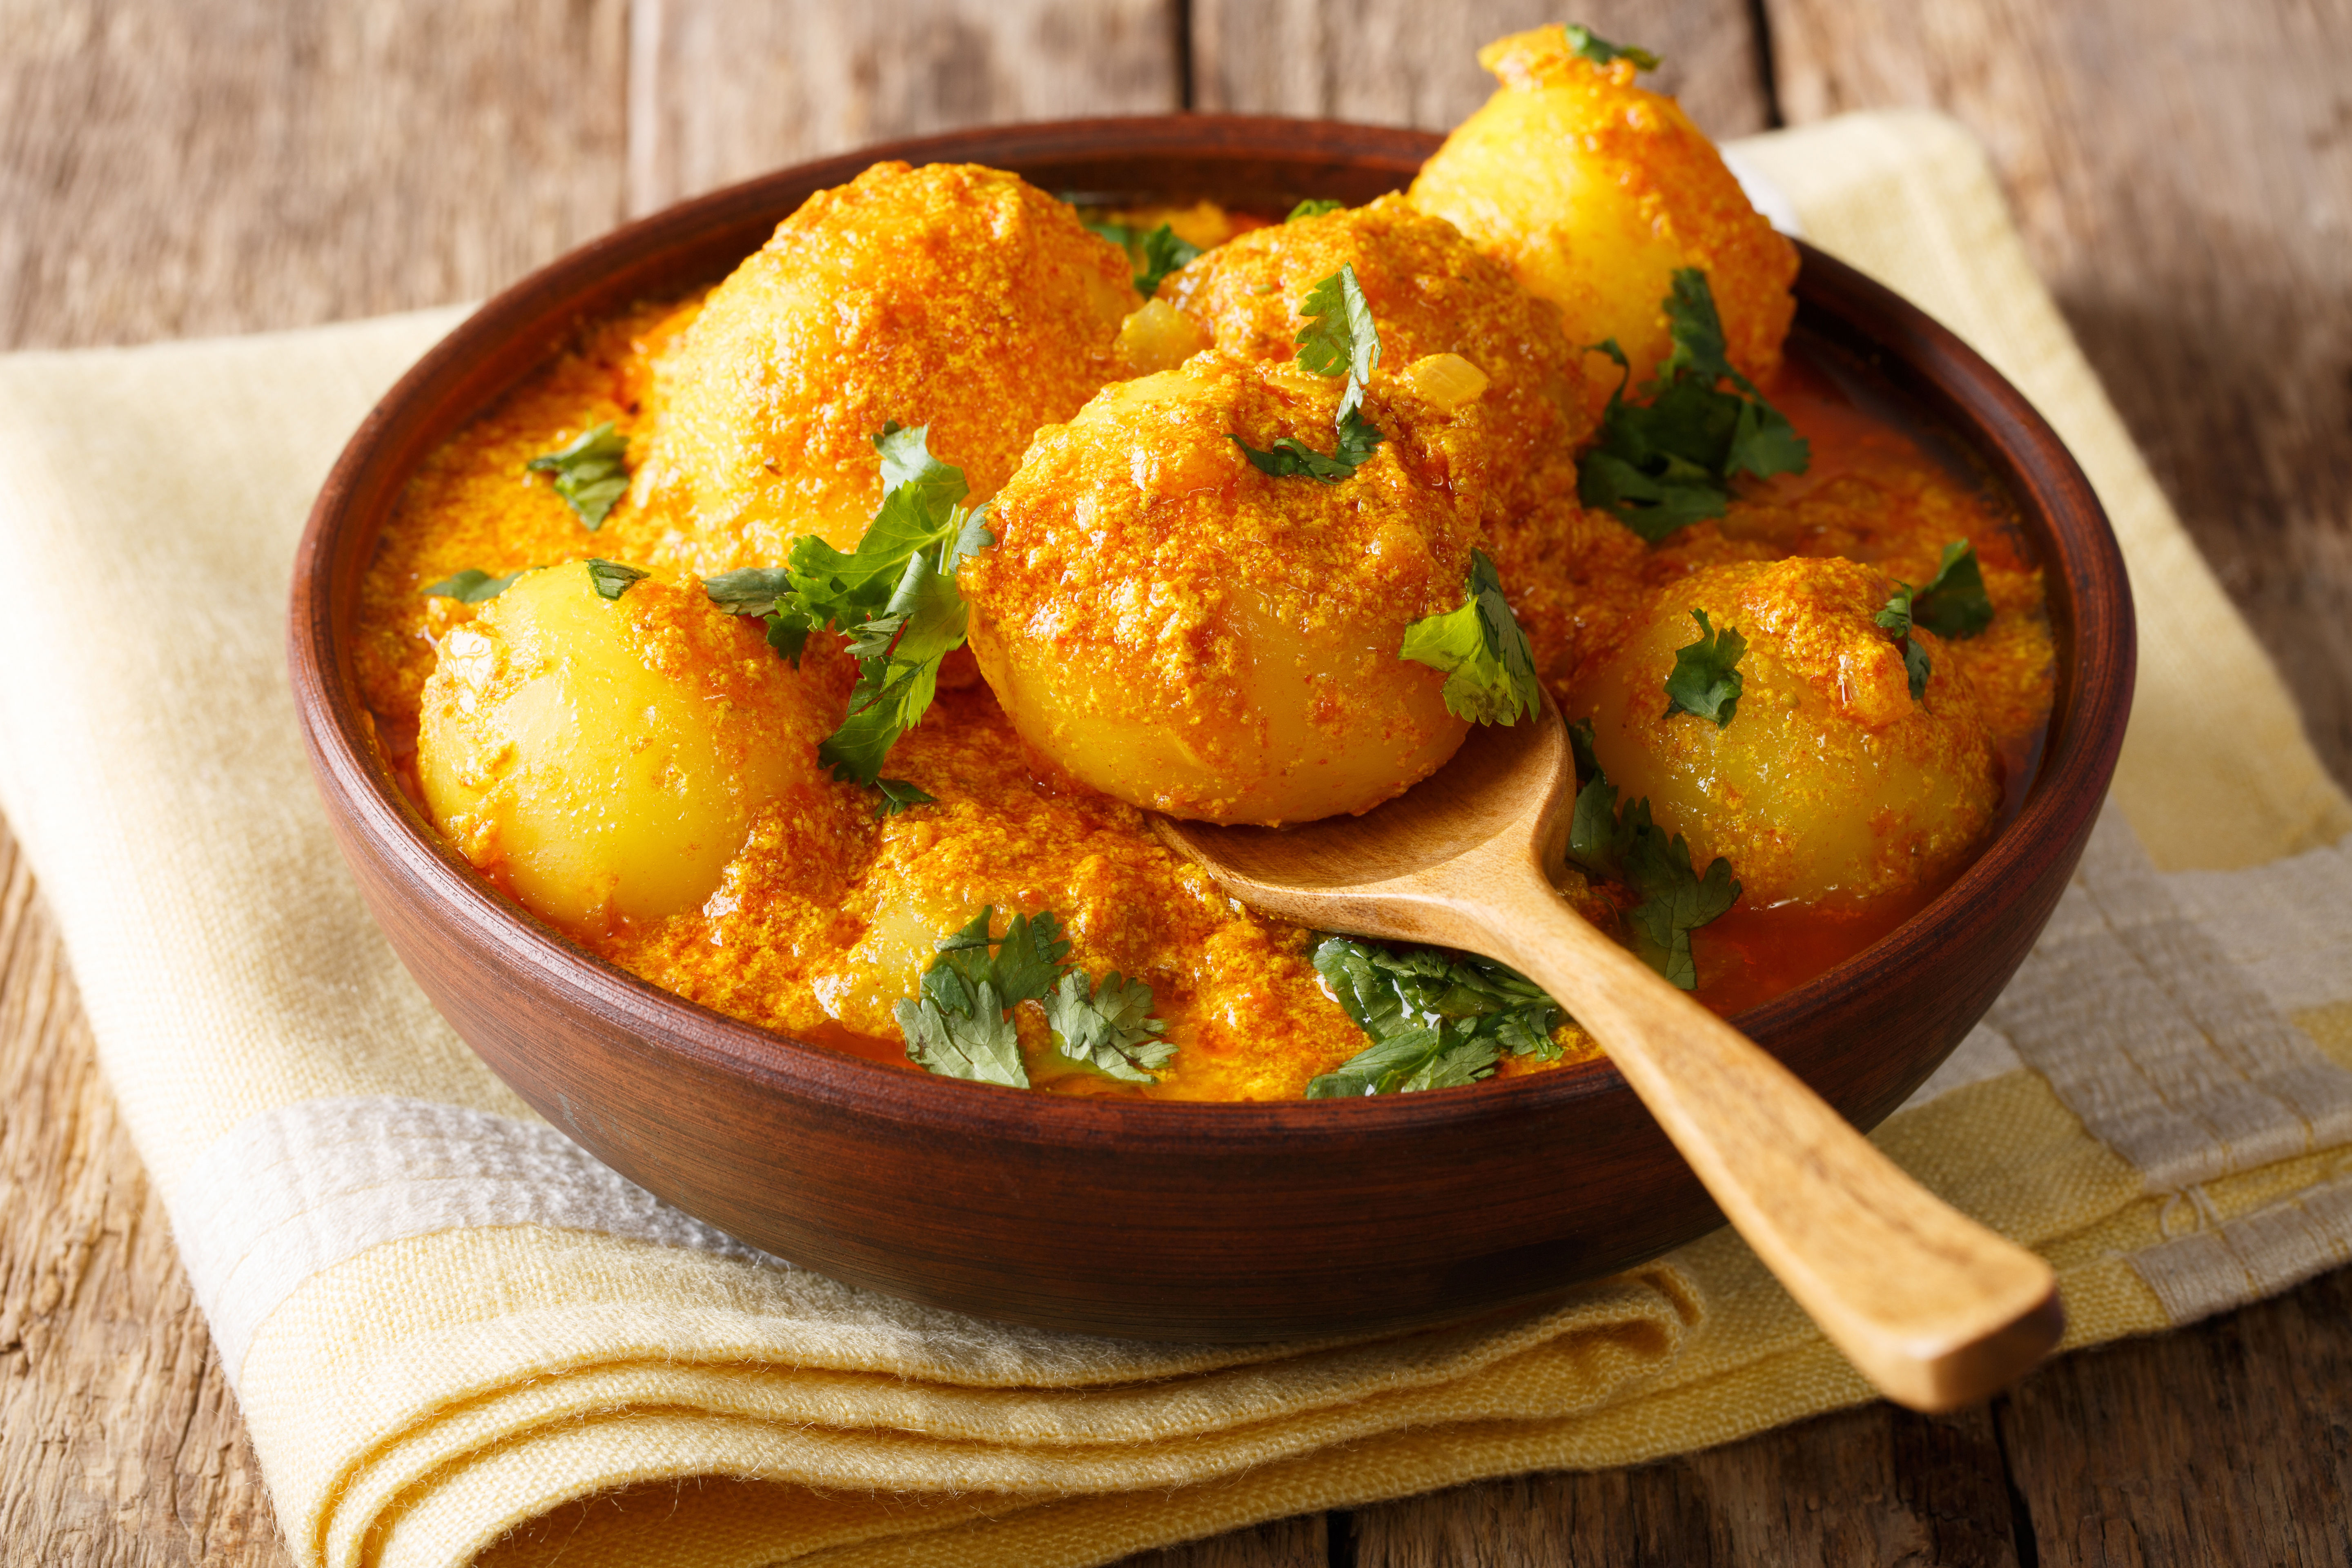
Now, your dish is the star of the gathering and the picture. You’ve pampered her with props and flattering lighting, but now it’s time to give her her finishing touches. Think color, and which color does your dish radiate? The red of strawberries and rhubarb? Or the green of your palak paneer?
Pairing the red of your strawberries with a red baking tray, for example, takes the limelight away from the dish, and attention is given to your baking tray instead. The same with the green of your palak paneer – would it look equally delicious in a bright yellow bowl? Probably not! When placing items into your food images, try selecting neutral tones, something that makes the food really pop against it, like black or white props, or glass bowls, so your dish gets all the Likes it deserves.
There’s lots of fun to be had with a camera and your food, and if you’ve got more tips and tricks for us, throw them our way! To order your Rotimatic, click below.
Transform your food with Rotimatic - tailor your meal according to your needs & indulge in low-calorie, healthy rotis for a nourishing lifestyle!